


In later articles I will discuss some of the aspects of the SQL Server installation process in more detail. The process is similar for all versions, but this article will focus on the SQL Server 2000 version.
Insert the Microsoft SQL Server 2000 compact disc in your CD-ROM drive. If the compact disc does not auto run, double-click Autorun.exe in the root directory of the compact disc.
Select SQL Server 2000 Components - If you are running Microsoft Windows 95, click SQL Server 2000 Prerequisites, and then click Install Common Controls Library Update.
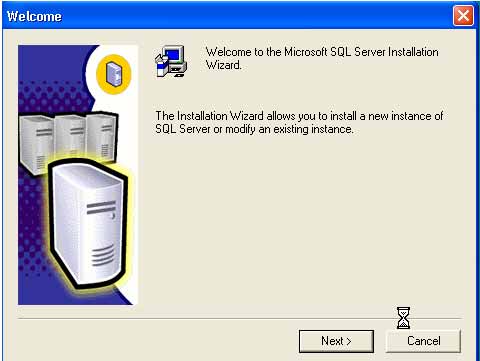
Select Install Database Server and setup prepares the SQL Server Installation Wizard. At the Welcome screen, click next.
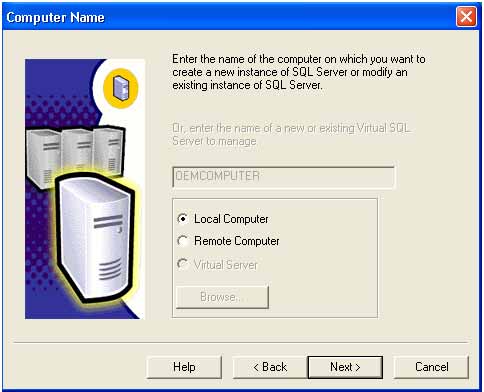
In the Computer Name dialog box, Local Computer is the default option and the local computer name appears in the edit box. Click Next. For a remote SQL Server installation, click Remote Computer. You can then type a computer name or click Browse to locate a remote computer. If a cluster is detected, Virtual server is the default option.
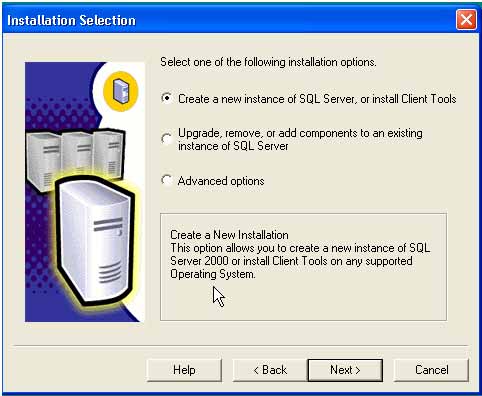
In the Installation Selection dialog box, click Create a new instance of SQL Server, or install Client Tools, and then click Next.
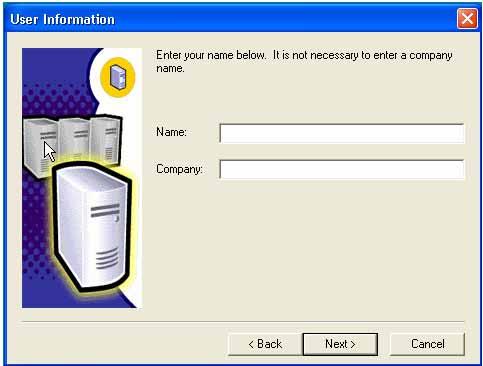
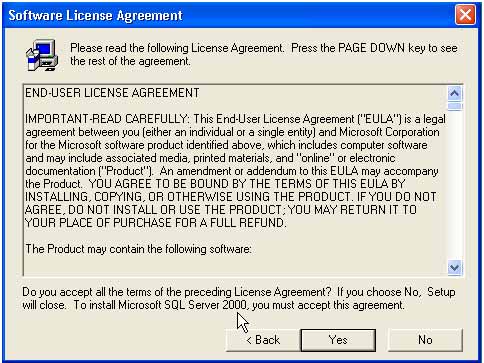
Follow directions on the User Information, Software License Agreement and related screens
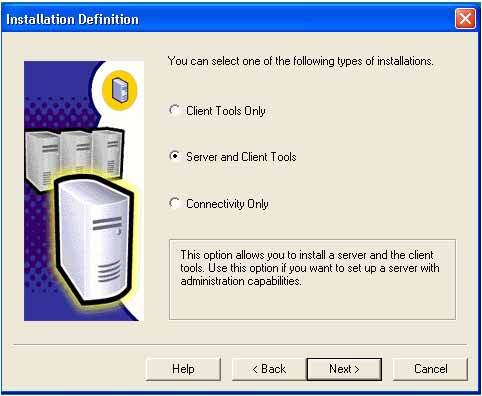
In the Installation Definition dialog box, click Server and Client Tools, and then click Next.

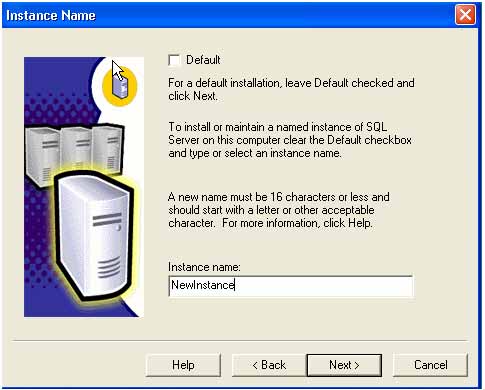
In the Instance Name dialog box, if the Default check box is available, you can install either the default or a named instance.
If the Default check box is not available, a default instance has already been installed, and you can install only a named instance.
To install the default instance, select the Default check box, and click Next.
To install a named instance, clear the Default check box, and type a new named instance in the Instance Name edit box. Click Next.
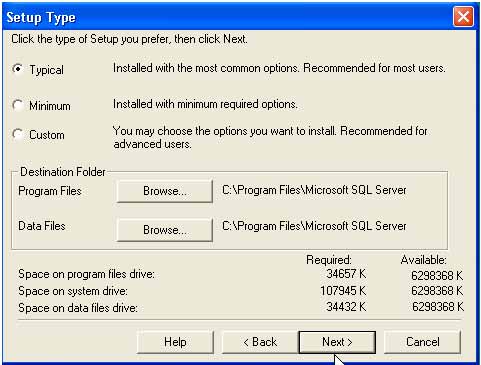
In the Setup Type dialog box, click Typical or Minimum, and then click Next. If you want to select components and subcomponents, change characters set, network libraries or other settings, click Custom, and then click Next.
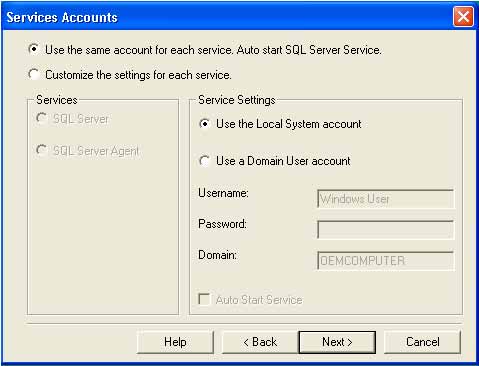
In the Service Accounts dialog box, accept the default settings, enter your domain password, and then click Next.
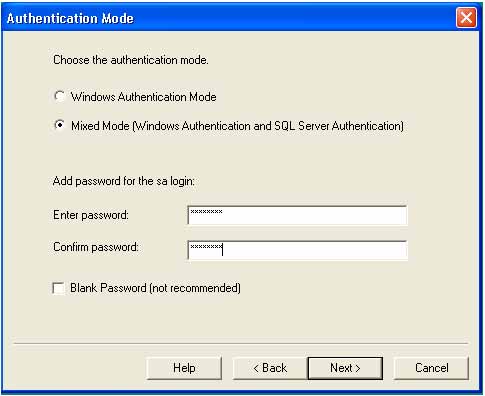
In the Authentication Mode dialog box, select "Mixed Mode"; this will allow users to connect from a non windows environment.
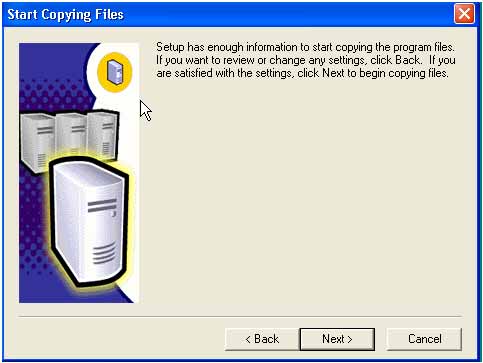
When you are finished specifying options, click Next in the Start Copying Files dialog box.
In the Choose Licensing Mode dialog box, make selections according to your license agreement, and click Continue to begin the installation. Click Help for information about licensing or see your system administrator.
In the Setup Complete dialog box, click Yes, I want to restart my computer now, and then click Finish.
This article has described the basic process for installing SQL Server 2000, in the following articles I will cover some aspects of the installation procedure in greater detail.
Source : http://www.databasedesign-resource.com/sql-server-installation.html


0 komentar:
Posting Komentar